Click Image For Greater Detail

21 - While waiting for some plumber bids on the underfloor work, we have continued to experiment with some floor insulation ideas and to beef up the floor strength with some additional beams. We may try the underfloor work ourselves since plumbers don't return calls. (October 27)

22 - Plumbers are not returning our calls, let alone bid on the job, so we continued to work on the underfloor items, this time the natural gas line for the kitchen range and for the corner gas fireplace. This took two days to drill 1.25" holes in the concrete stem walls, then running the 3/4" main pipe, with 1/2" taps for the stove and fireplace. Each tap included a drip tube to catch condensation, something I failed to do on the last job, but remembered for this job. Then the line was pressurized to 16psi (spec is 15psi) to verify it holds pressure. At this writing, all is well. [This passed inspection and was "green tagged" on November 15th, with a gas meter scheduled for installation on November 25th.] (October 29)

23 - We took a week off to visit our summer home in Metaline Falls, WA, and then Dave went back to a Buddhist center for an additional week, so we didn't return to Salem until mid-Nov. But a plumber was arranged and completed all the drain work in a single day. To prepare for him, we removed the entire floor in the blue room crawl space, the room that had the sewer pipe access. We then raked out the crawl space dirt and setup for the new floor. (November 14)

24 - Here Kathy helps position the joists for the new floor. She was also adding the wood strips to support some rigid foam insulation between joists, which supports the fiberglass insulation. (November 16)
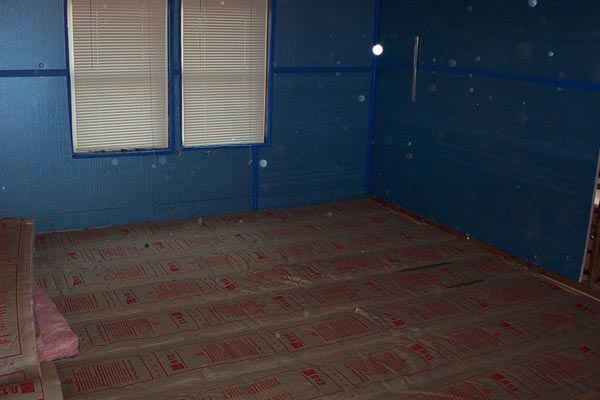
25 - Now the new floor is insulated and ready to the t&g plywood sub-floor. This floor will eventually be carpeted, while the floor in the main room will have oak flooring. There is no "next" picture showing the plywood; we forgot to photograph this step. (November 17)
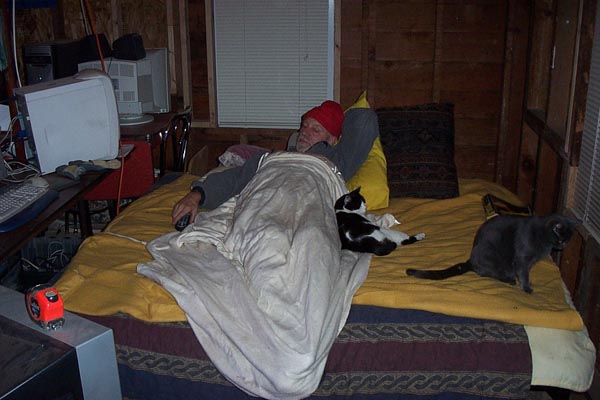
26 - Here is Dave under an electric blanket, with cats. When the floor was removed (above), our living space had no heat and evenings were spent trying to keep warm. With the new floor now done, the blue room (the insulated room) can now be heated and we are once again warm. (November 18)
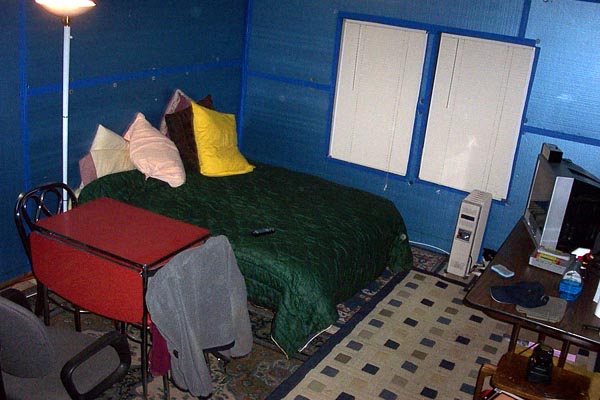
27 - Here is the blue room with the new floor, now heated and very comfortable. There is a bed, computer area, tables, and so forth. Eventually, this room will be the master bedroom. OK, the only bedroom. (November 19)
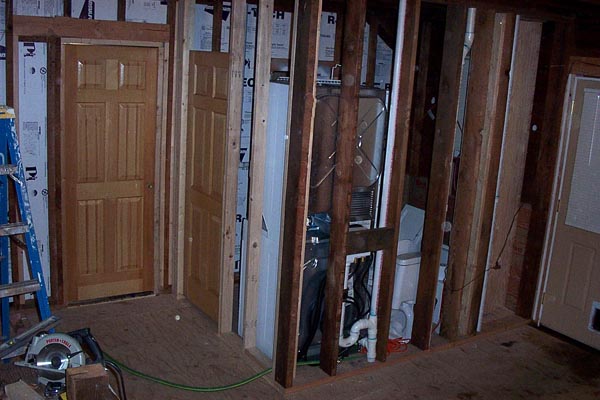
28 - Now the main room has a new floor and the bathroom is framed in, along with the new bedroom door. We installed everything in the bathroom, including the stacked washer/dryer to make sure everything fits. Everything does fit. The IKEA sink solved the spacing problem in front of the toilet. The gas company refused to turn on the gas until we make some changes, even though everything was done to code and inspected, and even though the gas company came out before we started the work so we could make sure it was done right. But, in the end, they found a couple things that no one mentioned. Corrections have been made and we'll try to get the gas turned on in a couple of days. (November 28)

29 - Here we are framing the entrance way closet. The water heater will go in here so we need to frame this before we can start plumbing in the water lines using PEX materials. (November 30)

30 - The natural gas was approved after two visits from city inspectors and three visits from the gas company. The first thing we hooked up was this gas "wood" stove that we got at a garage sale for $400. It appears to work fine and now the main room has a heat source. Forward! (December 1)
The thumbnail photos in the left panel show you the progress in renovating a small house in Salem, OR. The address is: 1734 Nebraska Avenue NE (off 17th, near Market Street), Salem, OR, 97301, (503) 763-6975. Click any photo for a larger image.
For more information, you can send an e-mail to: david@davidandkathy.com.
To keep this page at reasonable size, below are the archive photos for the following dates (click to view):
Photo 1 to 10 (March 1, 2005 to April 23, 2005)
Photo 11 to 20 (May 2, 2005 to October 24, 2005)
Photo 21 to 30 (October 27, 2005 to December 1, 2005)
Photo 31 to 40 (December 3, 2005 to January 3, 2006)
Photo 41 to 50 (January 3, 2006 to September 3, 2006 - done!)